Easy Picture Hanging Guide

Properly hanging wall art needs not be a mystery. Ordinary people hang pictures on their walls every day, and, with the right tools and a little instruction, you too can learn how to hang wall art like a designer. You can position your framed art on the wall to look balanced and intentional. You can do the actual hanging in a neat and inconspicuous way that protects your walls.
There’s no reason to stare at blank walls or to just stick your picture wherever there happens to already be a hole. There’s a right way to hang pictures, and it’s not that hard. You need the correct tools, and it’s best to set aside a period of time so you can relax and go about the job methodically. That’s especially true if you plan to hang multiple works of art or even create a gallery wall.
What Tools Do I Need?
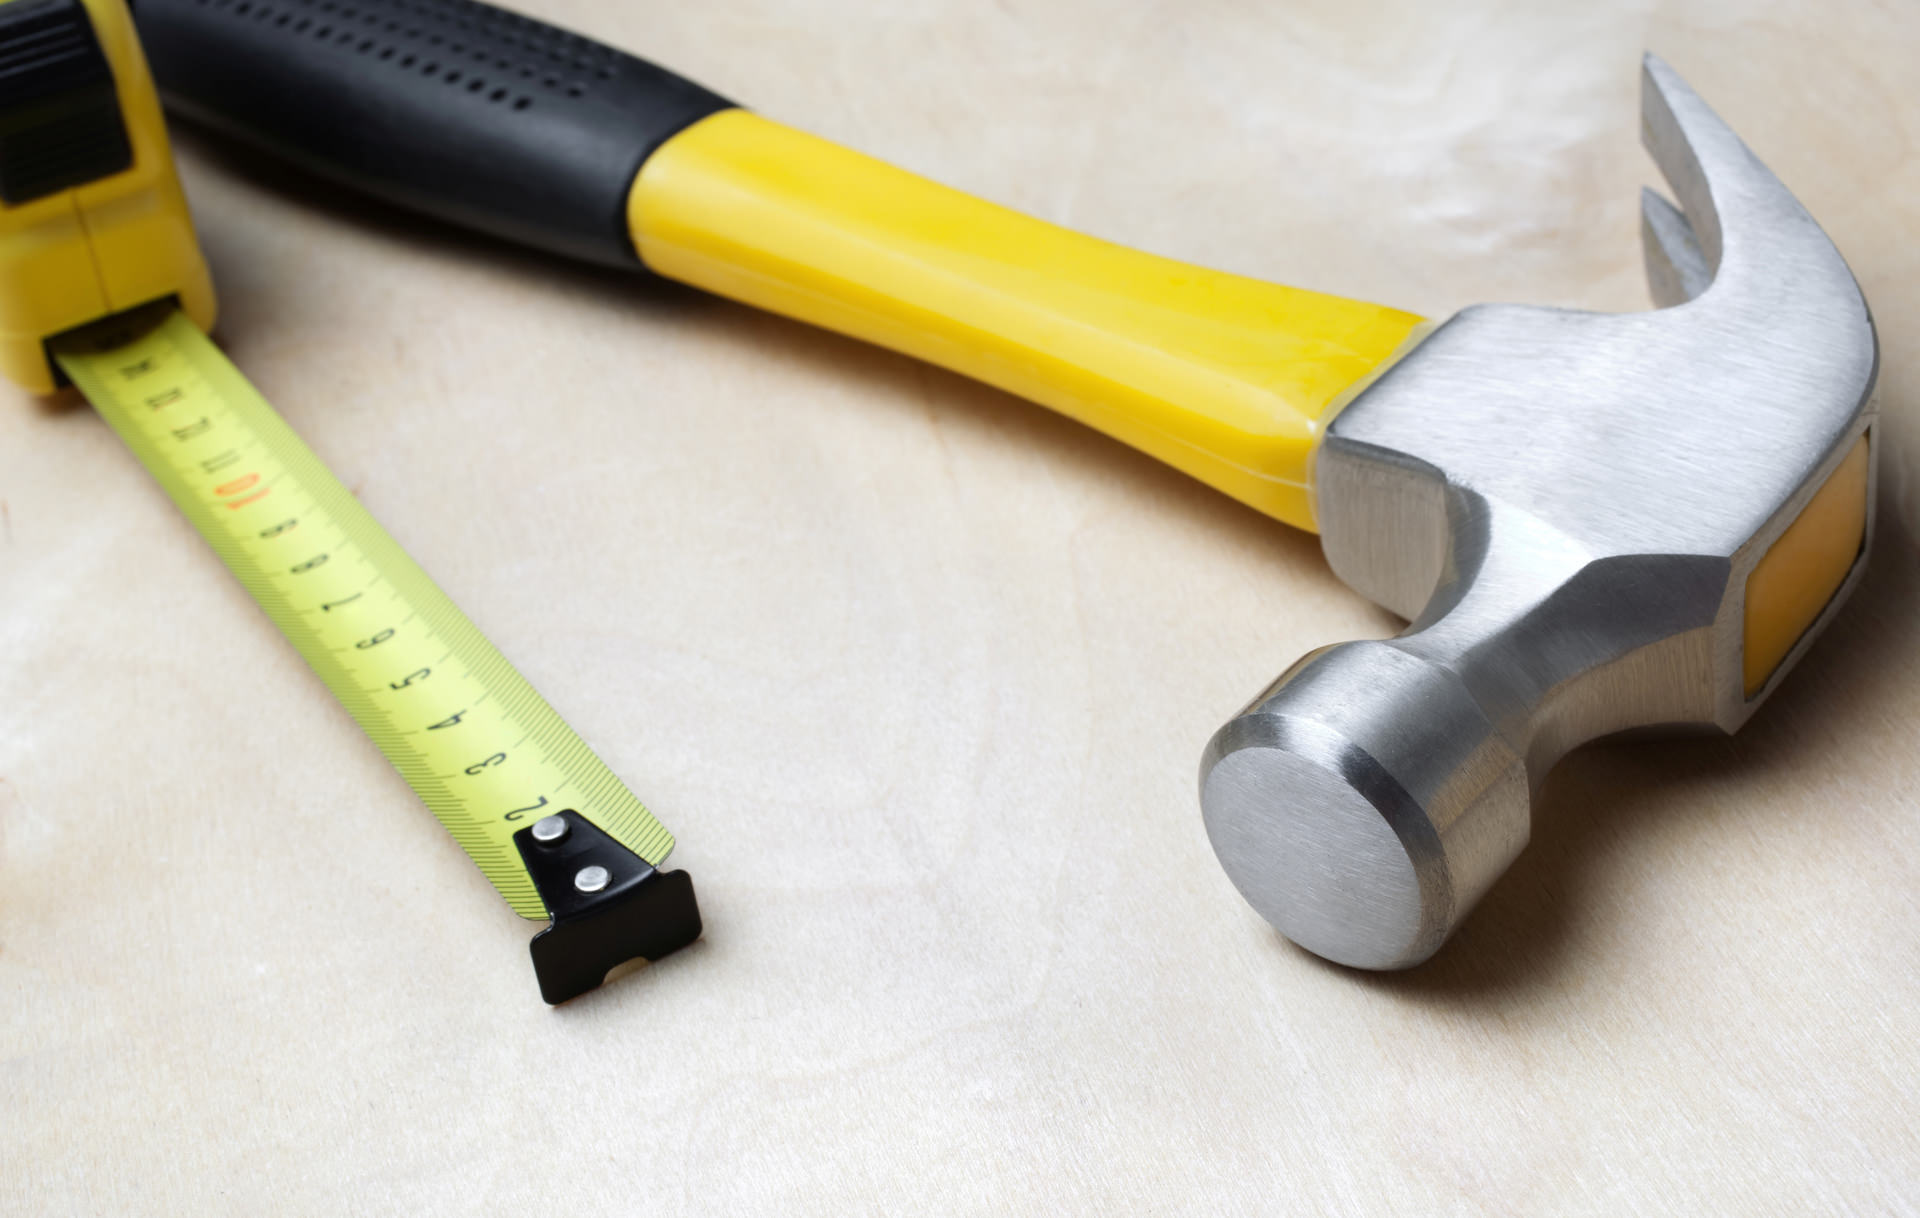
No matter what your wall surface, you’ll need a pencil and a tape measure or yardstick. A level may be useful. If you’re not sure where in the room you want your paintings and pictures, it’s best to tape something to the wall to check out various possibilities. It could be paper or cardboard cutout to the size of your wall art. Alternatively, you might use painter’s tape to simulate the edge of your pictures.
The tools needed to complete the job depend on the wall surface type and also the size and weight of framed art. They might include nails, screws, drywall anchors, molly bolts for plaster and brick clips. In some cases, you can simplify the job with no-hole peel-and-stick hooks. You may need a hammer, screwdriver and electric drill.
Where on the Wall Should My Pictures Go?
Museums hang their artwork so that the center of the picture is at eye level. The magic number – close to eye level for most people – is 57 inches. There may be reasons, such as sofas, chairs, desks and architectural features of the room, to vary from that. However, if there's no reason to be different, it’s best to stick to the 57-inch rule.
A single picture on the wall is usually centered left to right. However, if there’s an off-center sofa against the wall, this choice may look unbalanced. You may choose to orient the wall art to the sofa instead. Also, the bottom of the picture should be at least six inches above the top of the sofa, even if that violates the 57-inch rule.
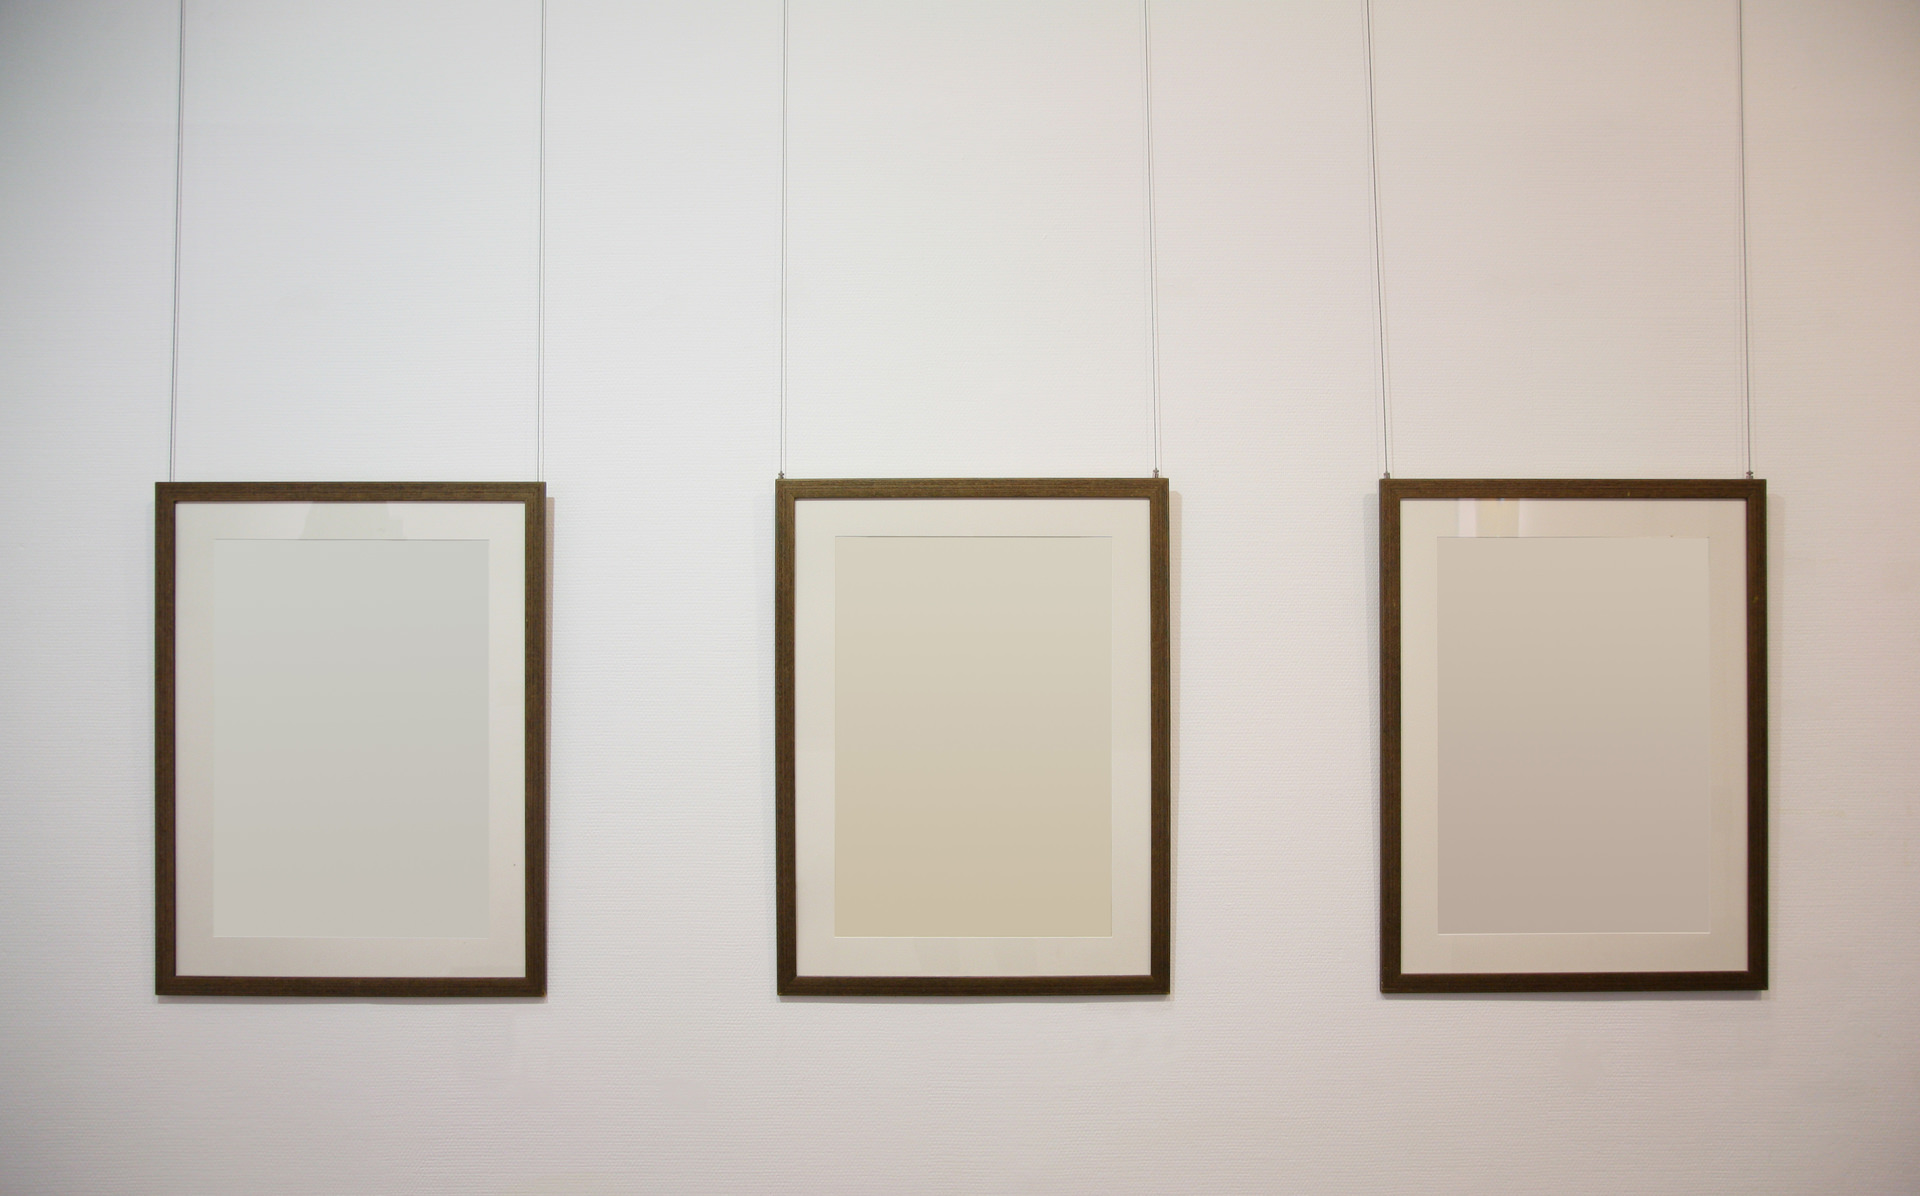
Gallery Walls
If you’re hanging several pieces of wall art, you might choose to arrange them like a museum, in a single row evenly spaced across the wall. However, more and more designers today are opting for the gallery wall. That’s when a grouping of pictures takes up most or all of a particular wall. Gallery walls come with their own best practices for arranging the artwork.
First, space gallery wall pieces properly by maintaining a comfortable distance from other pictures. There should be three to six inches around all sides of each frame. The larger the framed art, the more the space.
It’s helpful to begin by laying out your wall art on the floor. Start in the center with large pieces and move outward. If there are different types of colors or patterns, spread them throughout the display to create balance. When you have an arrangement you like, use your paper cutouts or painter’s tape to determine where to position them on the wall.
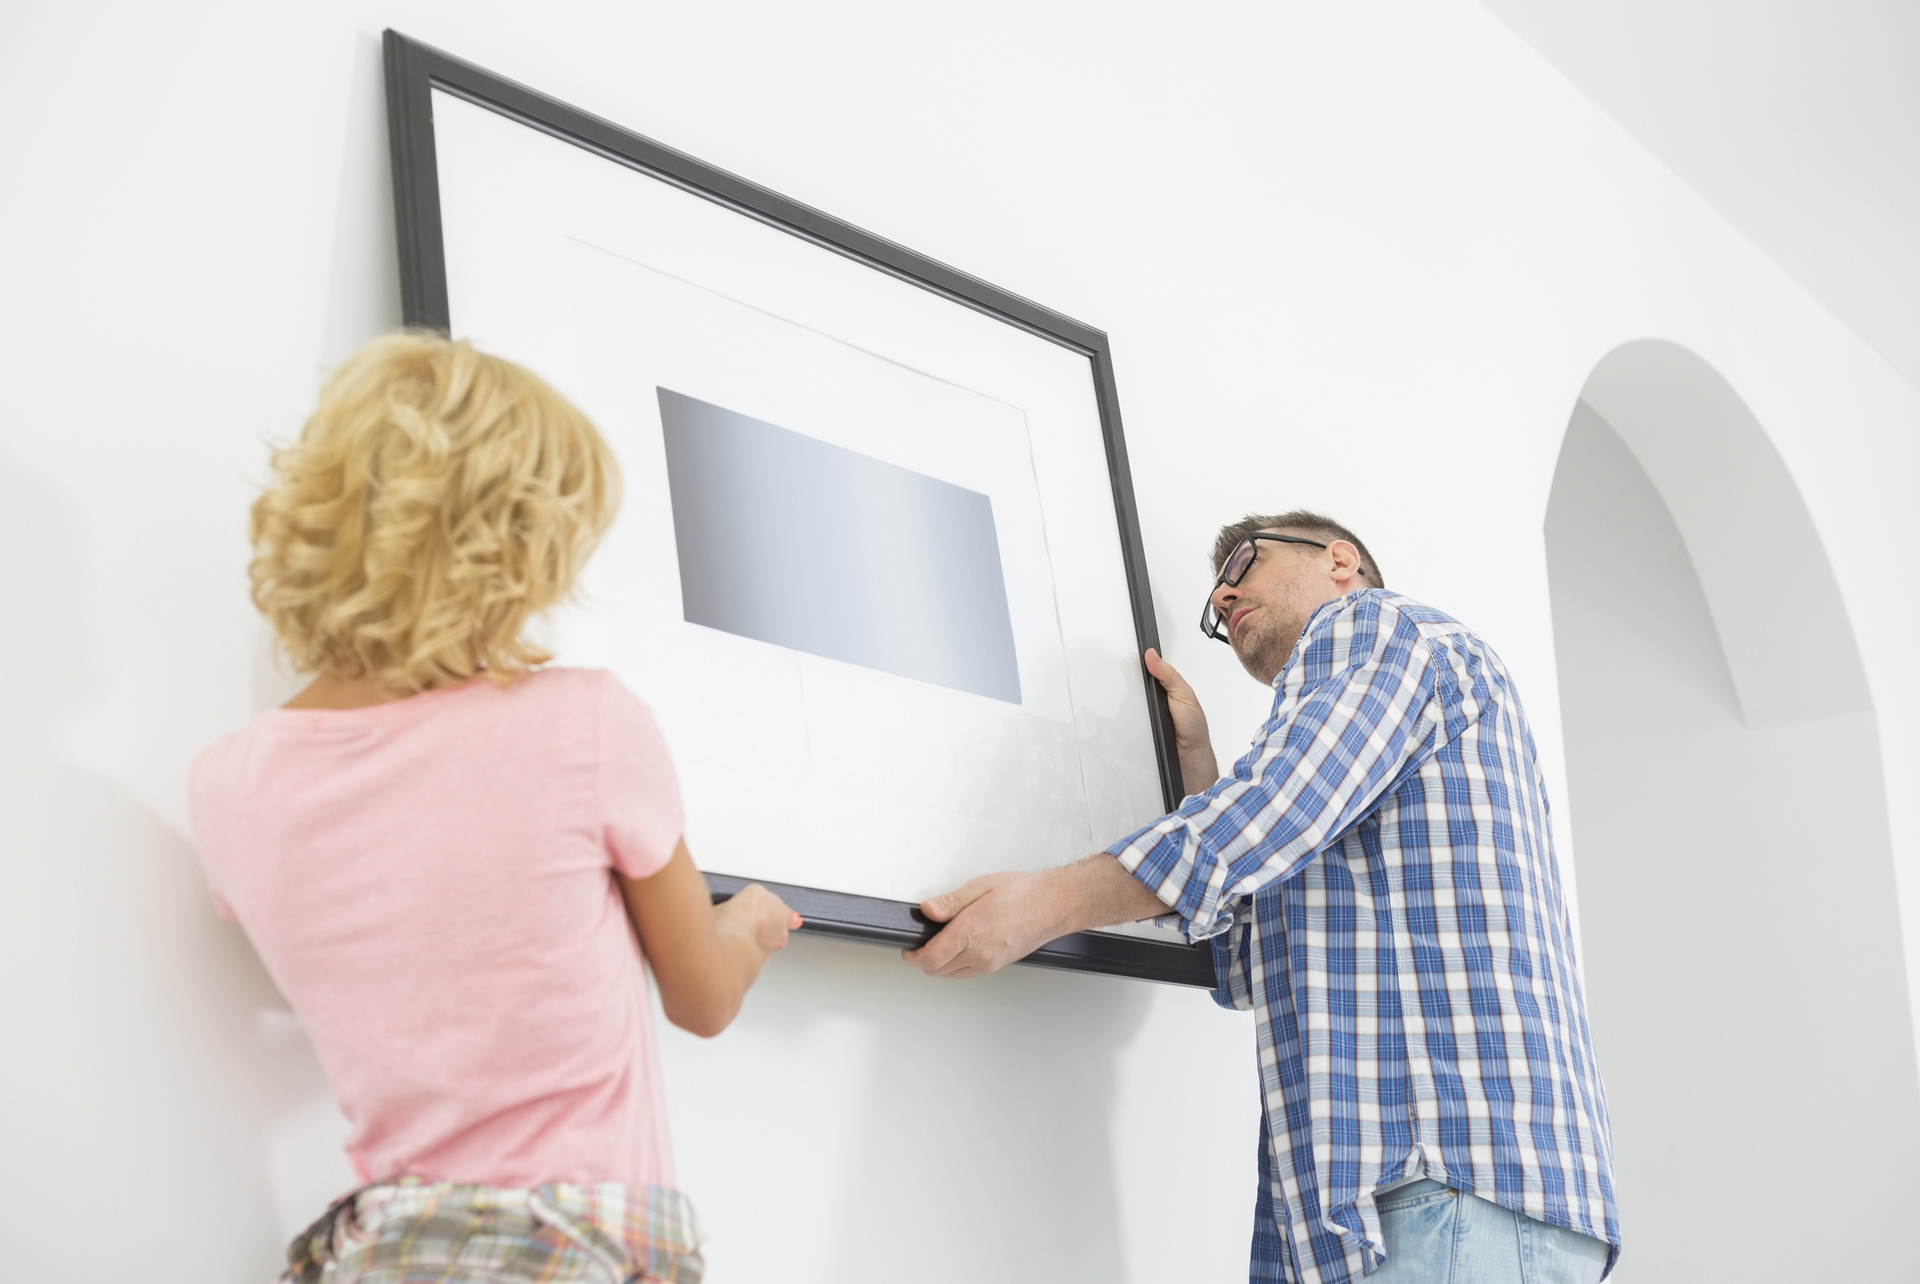
Finding the Exact Wall Spot
Once you’ve decided where to hang your paintings or other wall art, the next step is to mark the precise spot where you’ll put the hole or holes. Small pictures or ones with a portrait orientation will generally hang just fine on one hook, but heavy framed art or landscape pictures sometimes do better with two.
Most frames have wires on the back. They could be either plan wires or sawtooth hangers. If there isn’t one there, you can buy a kit and install it.
Follow these steps to identify the right wall position:
- Lightly mark the center point height of your picture with a pencil. In most cases that will be 57 inches from the floor. In a group such as a gallery wall, of course, it could be something else.
- Measure the height of the picture itself, and divide that number by two.
- Pull the wire toward the top of the frame and measure how far it now is from the top. Usually that will be a few inches.
- Subtract that number from the number you got in the previous step, which was half the height of the picture.
- This result tells you how far above the picture center line the hole has to go.
Here’s an example:
- You’ve marked the picture center point at 57 inches.
- Your picture is 20 inches tall. Divide that by 2 to result in 10 inches. 10 inches of your picture will go above the 57-inch line and 10 below it.
- When you pull the wire tight, it’s 2 inches below the top of the frame.
- Subtract 2 from the 10 inches you got in the last step. That gives you 8 inches.
- Mark the wall 8 inches above your 57-inch mark. That’s where your hanger should go.
How Do I Install a Hanger on Any Type of Wall?
What you do next depends on your wall surface. Here are instructions for drywall, plaster and brick.
Drywall
Most walls in most homes today are drywall, and there is plenty of hardware available that makes it easy to hang a picture on them. However, before you start drilling holes, consider whether a peel-and-stick hook such as 3M’s Command Strip will do the job.
The strips are commonly used as convenient places to hang keys. Larger ones can hold four pounds, so they can work for a small picture. Two working together could manage an eight-pound picture in landscape orientation. Double-check the capacity of whatever strips you purchase. And remember that these work only on smooth surfaces. Don’t try them on plaster or brick.
If you conclude that you have to make a hole, first identify whether your hanger will go into a stud. Use a stud finder if necessary. If you’re lucky enough to find a stud where you want one, you can simply pound a nail or drive a screw into the wall, and your job is done.
However, it’s more likely that you will have to hang your wall art on the drywall itself. That calls for a drywall anchor. These anchors grip the drywall better than screws and, depending on the anchor strength and style, can hold pictures as heavy as 50 pounds. Be sure to check the weight of your picture and the load-bearing capacity of your anchor.
There are several types of drywall anchors. Some are oversize threaded plastic screws. Others have toggles or expansion devices that open up inside the wall and grip it from the back. Follow the instructions that come with the anchor kit you have chosen.
Some anchors are self-drilling. These can be forced through the drywall with a screwdriver simply by applying pressure and turning the screw slowly. For most anchors, the job is easier and neater if you use an electric drill. In that case, choose a bit about the same size as the tip of the anchor. Drill the hole and turn the screw in or tap the anchor into place with a hammer.
In either case, force in the anchor until it’s flush with the wall. If it’s an expansion anchor, you may have to tap it lightly with a hammer to completely open it up behind the wall.
Plaster
Plaster tends to shatter when you force a screw or nail into it, so you’ll need to drill a hole. Before you drill, put a piece of tape over your drilling spot to prevent the plaster from crumbling. If you’re on a stud, you can drill directly into it and use a nail. Angle downward so that the nail acts as a hook.
If there’s not a stud, you’ll need a molly bolt, which is ideal for hanging objects on a plaster wall. Use a drill bit that’s slightly smaller than the bolt. Lightly tap the blot with a hammer to force the device into its expanded position.
Brick
If your brick is in good shape, a brick clip may be your best bet. A brick clip grips the brick’s protruding edges and provides a hanger or two on the surface of the clip.
For a lightweight picture, you can use hard wall hangers, which are lightweight hangers with tiny nails. These small mails generally won’t damage brick.
For a larger framed art, you may have to drill. This option is not without risk of damaging the wall, and it’s safer to drill into the mortar between the bricks. You’ll have to use a hammer drill, a masonry bit and a plastic brick anchor. Drill slowly until your hole is big enough to contain the anchor. Force the anchor in, tapping it lightly with a hammer if necessary.
All Your Pictures Where You Want Them!
It’s easy to have the roomful of the artwork you’ve always wanted. With these tips and the proper equipment, you’ll be able to hang paintings and other wall art like a pro.